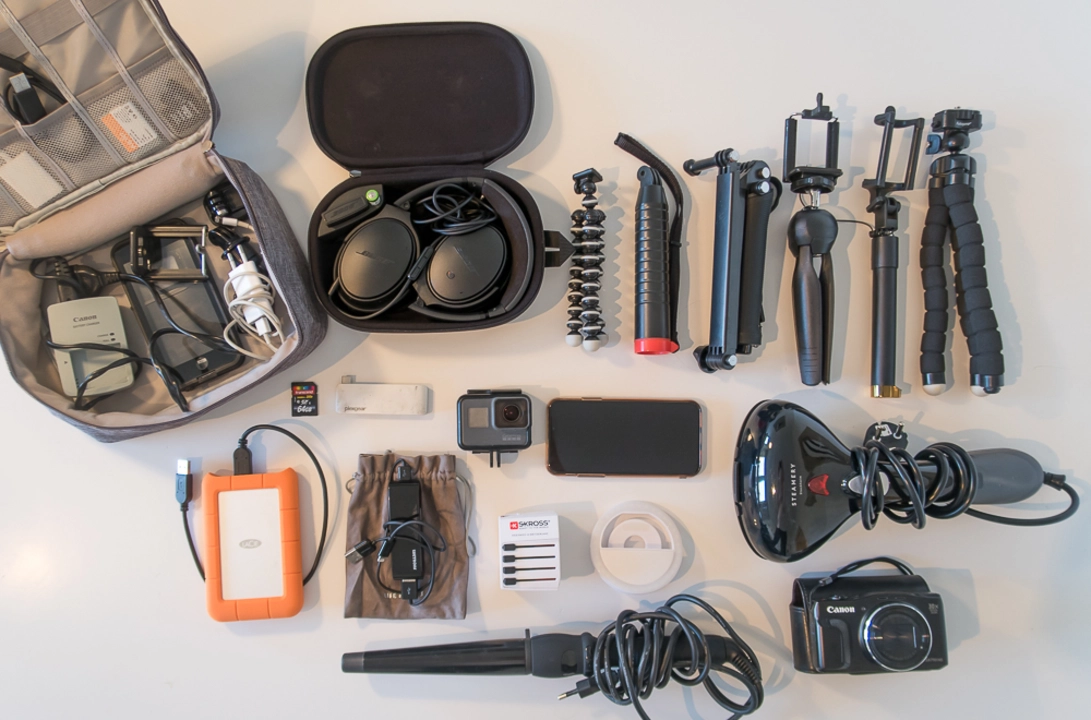
Choosing the Right Camera for Product Photography
As a beginner in product photography, your first step is to choose the right camera. With so many options available, it can be a daunting task to decide which one suits your needs best. DSLRs and mirrorless cameras are popular choices among professionals and amateurs alike, offering a wide range of features and functionalities for capturing high-quality images.
When selecting your camera, consider factors like sensor size, resolution, budget, and your skill level. A full-frame sensor will provide better image quality and low-light performance, but they can be pricey. Crop sensor cameras are more affordable and still produce excellent results for product photography. Look for a camera with a resolution of at least 20 megapixels to ensure sharp, detailed images.
Investing in Quality Lenses
Once you have chosen your camera, the next crucial piece of equipment is the lens. A lens can make or break your product photography, so it's essential to invest in quality glass. There are two main types of lenses to consider: prime lenses and zoom lenses.
Prime lenses have a fixed focal length and are known for their sharpness and fast apertures, making them perfect for capturing the fine details of your products. A popular choice for product photography is a 50mm prime lens, which provides a natural field of view and minimal distortion. Zoom lenses, on the other hand, offer versatility with a range of focal lengths. They are great for shooting products from different distances and angles, but may not be as sharp as prime lenses.
Selecting a Stable Tripod
A tripod is an essential tool in product photography, as it ensures stability and consistency in your images. A sturdy, well-built tripod will prevent camera shake and help you achieve tack-sharp focus. There are various types of tripods available, ranging from lightweight and portable to heavy-duty studio models.
When selecting a tripod, consider factors like weight capacity, height, and stability. Make sure it can support the weight of your camera and lens, and it's tall enough to allow for various shooting angles. A tripod with a ball head will enable you to make smooth and precise adjustments, making it easier to frame your shots perfectly.
Lighting: The Key to Professional Product Photography
Lighting plays a crucial role in product photography, as it can dramatically affect the appearance of your products and the overall quality of your images. There are two primary lighting sources to choose from: natural light and artificial light.
Natural light is a budget-friendly option and can produce beautiful, soft shadows. However, it can be unpredictable and challenging to control. Artificial light, such as studio strobes or continuous LED lights, gives you complete control over the intensity, direction, and color temperature of the light. For beginners, a simple two-light setup with softboxes or umbrellas will suffice for most product photography needs.
Creating a Seamless Background
A seamless background is a must-have for professional-looking product photos. Using a solid, neutral-colored background helps eliminate distractions and ensures your products are the focus of the image. White, gray, and black are popular choices for product photography backgrounds, as they are versatile and complement a wide range of products.
There are several options for creating a seamless background, including paper rolls, vinyl backdrops, or even a simple piece of fabric. When setting up your background, make sure it's clean and wrinkle-free, and position it in a way that creates a smooth, unbroken transition between the surface and the backdrop.
Post-Processing: Enhancing Your Product Photos
Finally, post-processing is an essential step in the product photography workflow. Editing your images allows you to fine-tune colors, adjust exposure, and remove any imperfections, ensuring your products look their best. Adobe Lightroom and Photoshop are industry-standard software for photo editing and offer a wide range of tools and features to enhance your images.
As a beginner, focus on mastering basic adjustments such as white balance, exposure, contrast, and sharpness. As you become more comfortable with editing, you can explore more advanced techniques like retouching, compositing, and adding special effects. Remember, the goal of post-processing is to enhance your product photos, not to completely change their appearance. Keep your edits subtle and natural-looking to maintain the integrity of your images.
